In this article we will walking you through the setup of your clients manager.
Prerequisites for client manager :
- A WPOven account with a 'Professional' Plan and above server.
- A Domain where you would provide your clients access to the 'client manager'. You would need to point this domain's 'CNAME' say 'clients' to clients.wpoven.com .
Lets begin Setting up your clients manager.
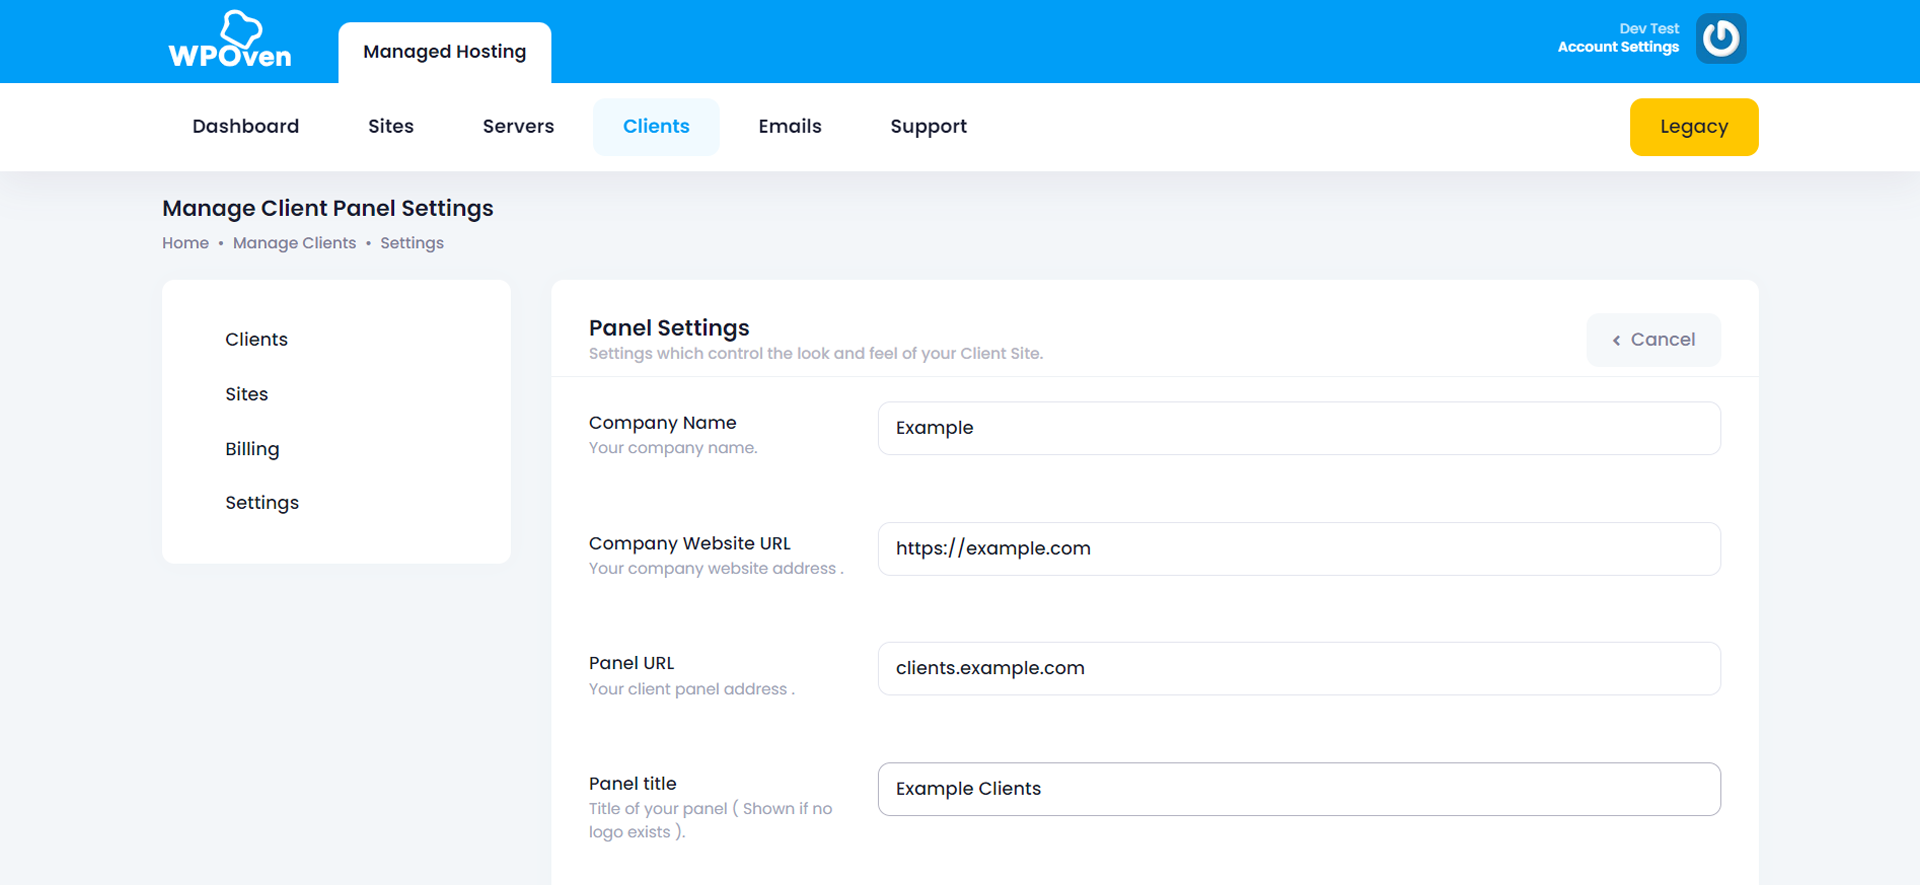
STEP 1: Go to your WPOven dashboard click on the "Clients" tab and then click on the "Settings" sub tab.
STEP 2 : Complete and fill both the "Panel Settings" form and the following "Invoice Settings" form below it and Save both the Settings. Once settings are saved you may check the invoice look by clicking the "Preview Invoice" button.
NOTE : If you do not fill these settings forms the clients manager will not work properly.
STEP 3: Now we are ready to add our clients. Click on the "Clients" sub tab fill in the "Client Account Details" Form and click "Create Client" button.

You will be able to see your newly created client in the "Clients" tab. Press the "Invite" button in front of your Client's name to send him/her the login details and the "Panel URL" you filled in the settings form.
STEP 4 : You can mark the sites already present on your WPOven server to the newly created client. Click on the "Client Sites" sub tab and Click on the "Add Site" button. Fill the form and press the "Add Site" button at the bottom.
You will now see the site added to your client's name.
STEP 5: To create Invoices to send to the clients, you need to click on the "Billing" sub tab and then the "Add Invoice" button.
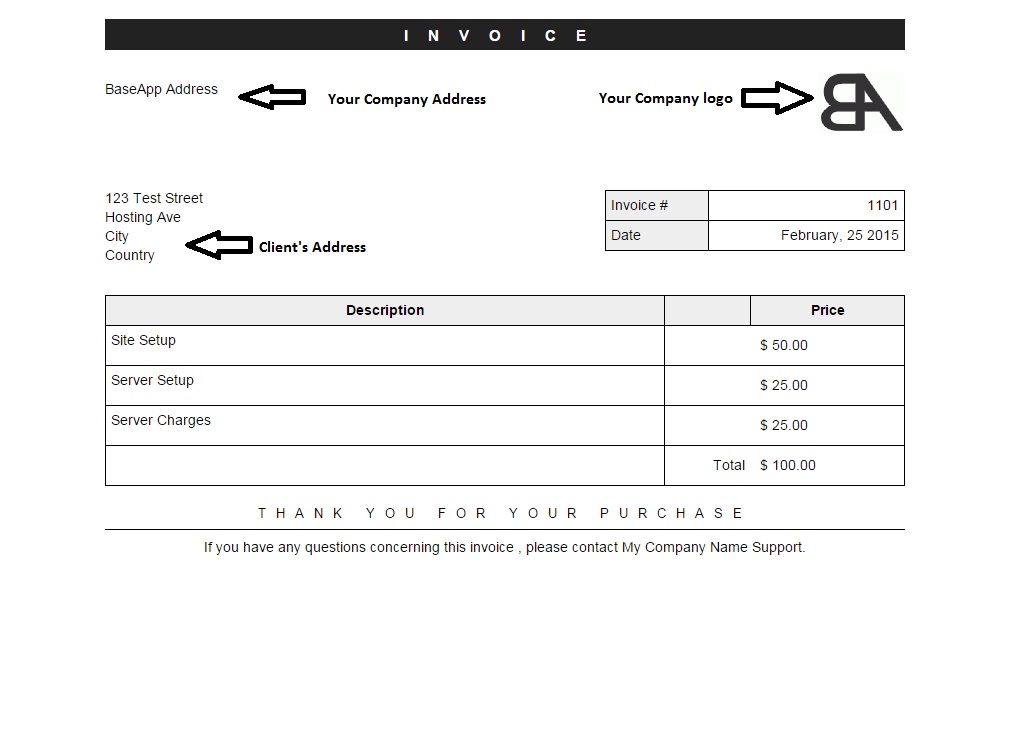
You will now see a "Add invoice" form. Select the client to whom you need to send the invoice to. You can send 2 types of invoices, "Fixed" and "Recurring". "Fixed" are one time billing, whereas "Recurring" invoices can be billed according to "Days", "Months", "Weeks" or "Years". To fill the Invoice Details, like Item description followed by the item price, you need to follow this format : Item Name,Price. If you want to add Extra charges like shipping or tax, you need to follow this convention : #Tax,Price.
Here is what the generated Invoice will look like :
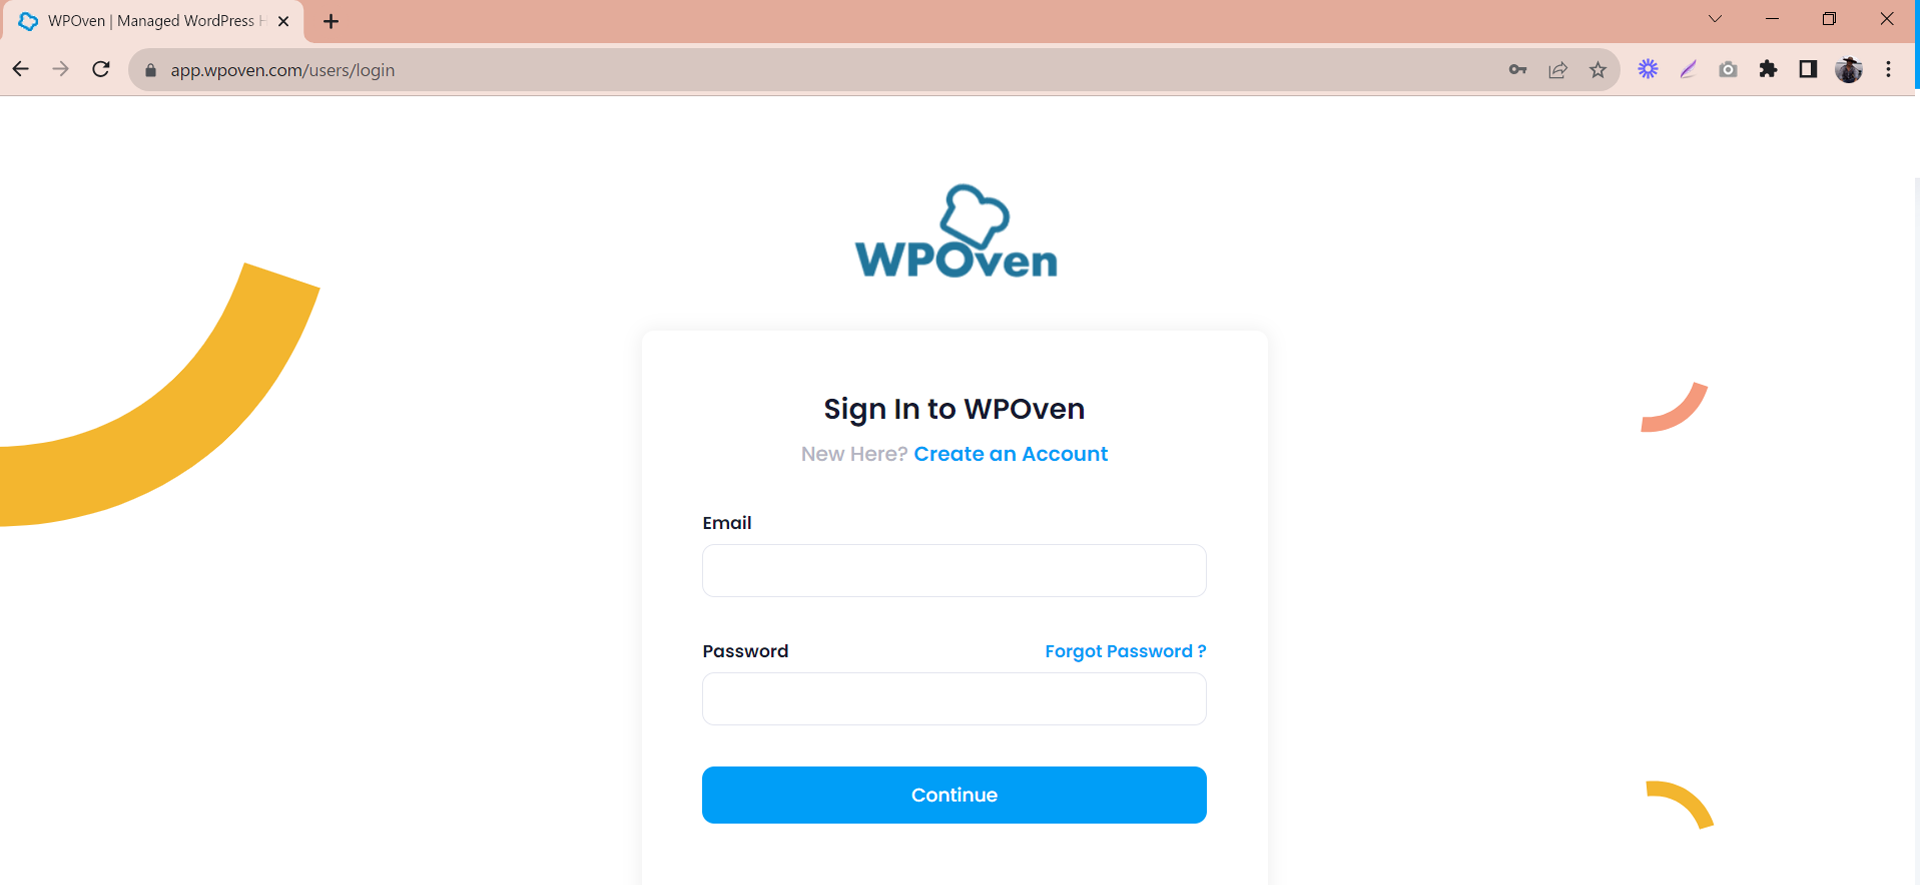
STEP 6: Your Client can access their accounts on the domain you set in the "Panel Settings" form as the "Panel URL".
They can log in here
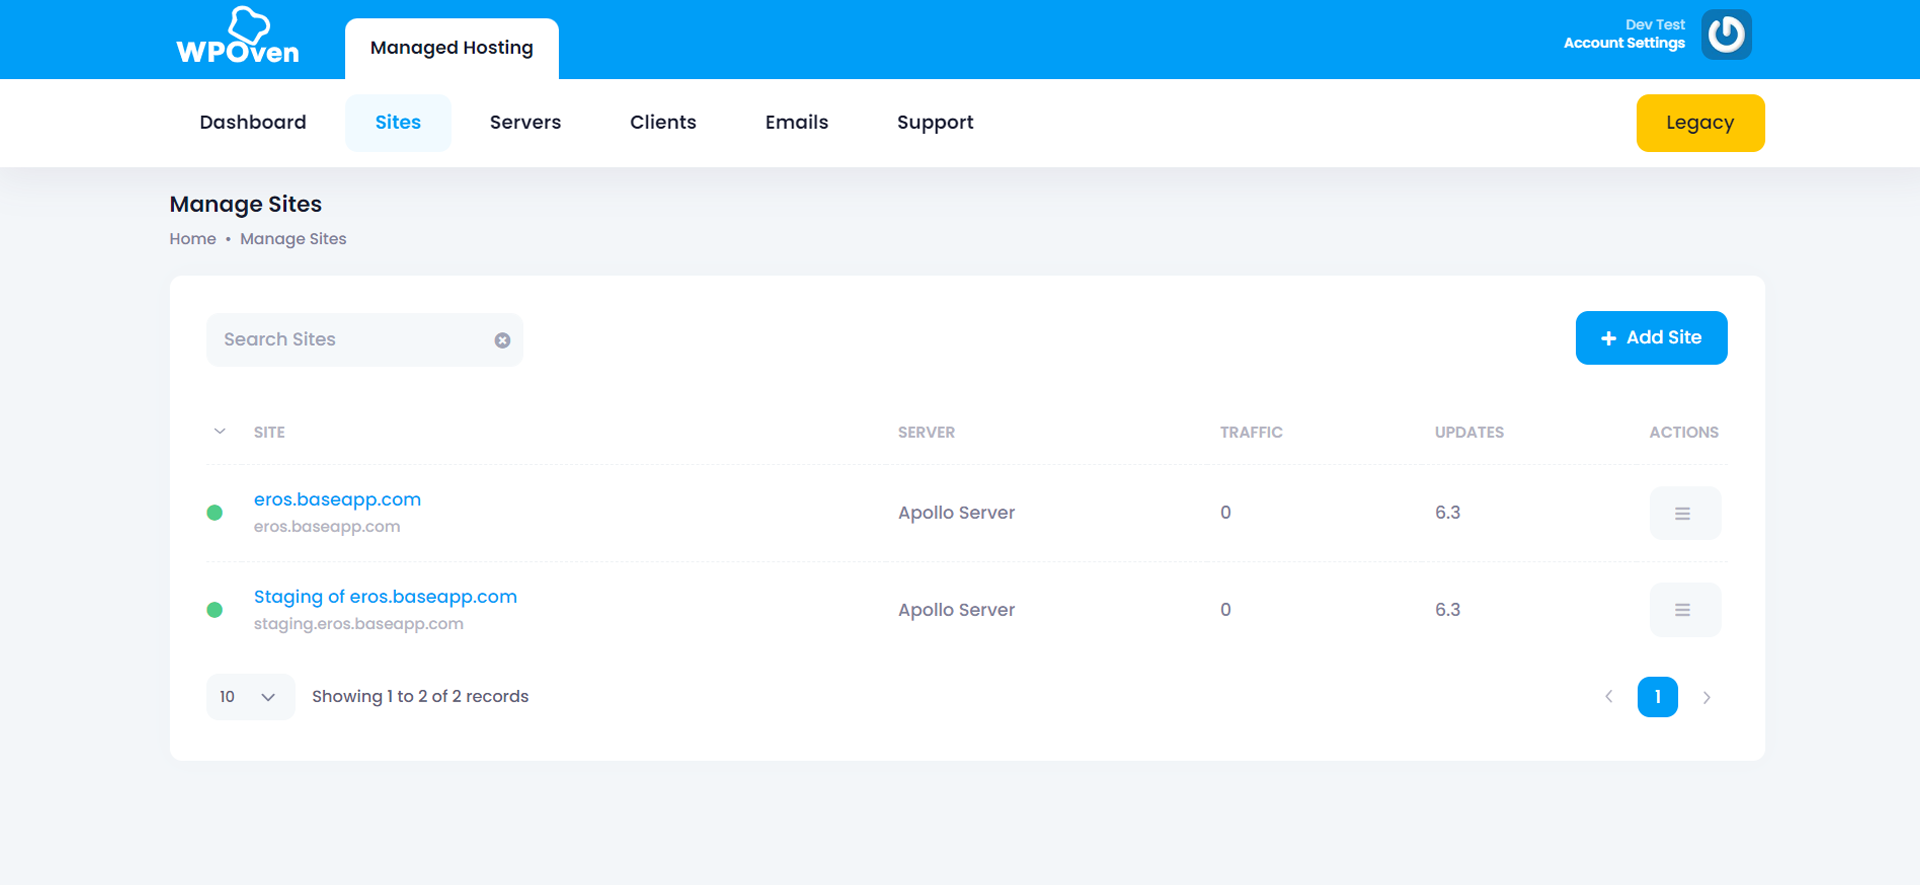
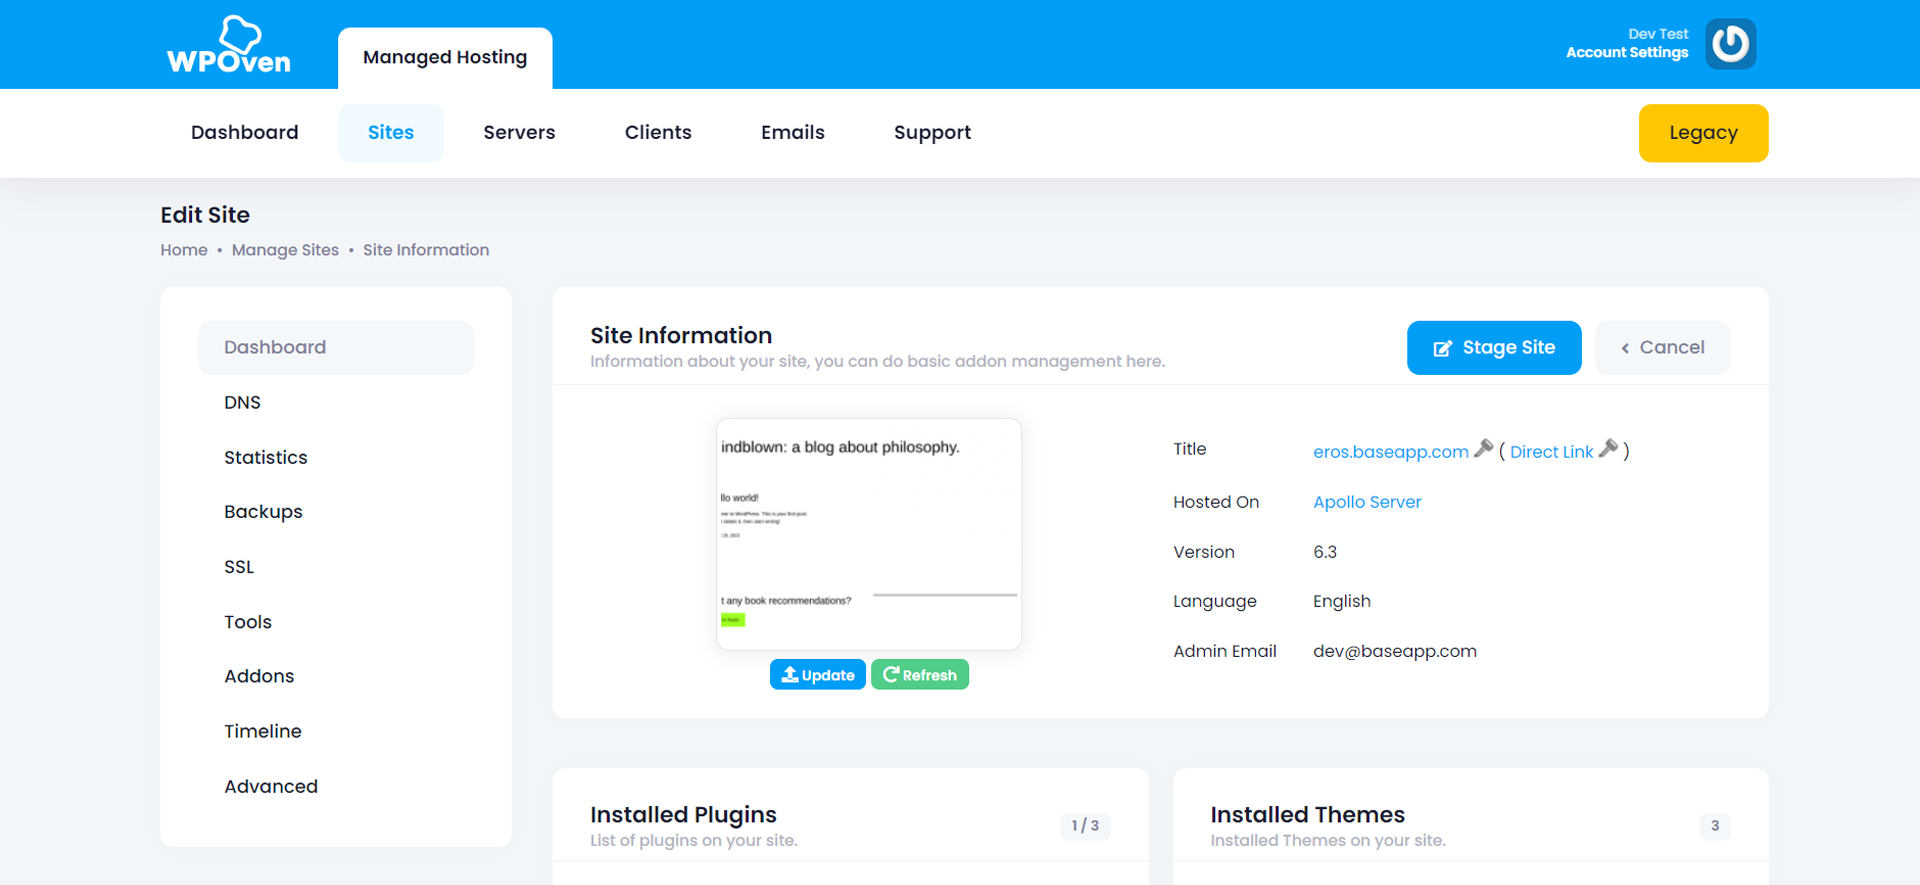
The Client can monitor their Sites, Billing, and features from this manager.
If you have any queries regarding the client manager, feel free to contact us.