What is the “405 Method Not Allowed” status code?
The 405 Method is Not Allowed is an HTTP response status code that signifies that the server can recognize the request method used but it doesn’t support it for the targeted resource.
In simple words, the browser is unable to access the page you have requested, and your website visitors will see an error message stating “405 Method Not allowed” rather than showing the page.
How To Fix 405 Method Not Allowed Error?
Before, directly hopping into the troubleshooting steps, you must create your website’s complete backup first. This will help you to regain your website if anything goes wrong during the troubleshooting steps.
This feature is usually provided by many web hosting service providers. However, if you have a hosting account with WPOven, things will become even easier with their Amazon-based S3 automatic backup.
Once you have done this precautionary step, it is time to begin your troubleshooting steps. Without further delay, Let us get started!
1. Make sure you have entered the correct URL
One of the most common errors that anyone generally makes is entering the wrong URL, especially when in a hurry. As a result, the browser is unable to display a webpage that doesn’t exist.
Therefore, before hitting the enter button, make sure you have entered the correct URL and check for any spelling mistakes or missing letters in the URL. Although this troubleshooting step might seem very easy to you, it can be effective in resolving the issue at times.
2. Revert any recent WordPress update
No doubt, updates bring exciting things such as newly added features, bug fixes, and security patches. However, even though their intentions are good, sometimes these updates bring along some issues.
If you find that the 405 Method Not Allowed error was not appearing before the update, then it means the latest update is the main culprit. This can also include recent plugin or theme updates.
If you suspect that the recent WordPress update might have caused the issue, try reverting to the previous version of the update. You can do this by using a WordPress downgrade plugin. Simply install and activate the plugin, and it will automatically downgrade the WordPress version for you.
Read: 🚩 How to Backup WordPress Site in 5 Minutes? (4 Methods)
3. Check your Database for any changes
Although the above troubleshooting steps are usually sufficient to resolve any plugin or theme-related issues, they do not guarantee that all changes made by the plugin can be reverted.
This applies specifically to WordPress plugins. Once you install and activate these plugins, they are granted full access to the database, allowing them to make any necessary changes according to their requirements.
You can try uninstalling or deactivating the plugins first.

Even uninstalling the plugin will not help revert the changes. Therefore, you need to check your database to see if any unexpected changes have been made.
The steps may vary depending on the web hosting provider you use. At WPOven, all its servers include DBAdmin, a database manager, which can be used for editing, importing, or exporting the Database.
To access the Database manager you need to follow these steps :
1. log in to your WPOven account.
2. Click on the ‘Sites‘ tab and click on the site name, whose database you wish you access.
3. Click on the ‘Advanced‘ tab and press the ‘Launch Database Manager‘ Button.
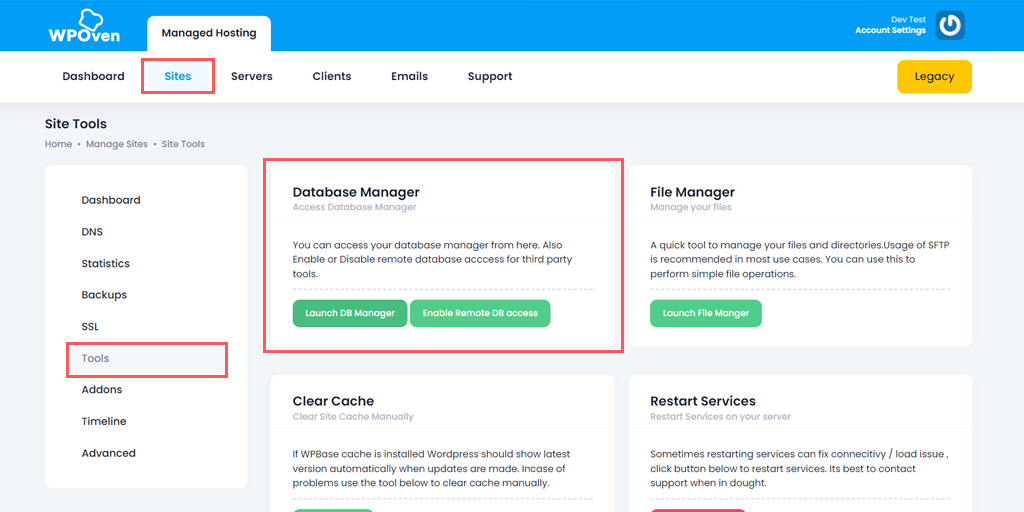
Once you open the database, the next step is to manually inspect the records for any modifications or changes.
Note: We highly recommend you consult the support team of your web host to avoid making unnecessary modifications.
4. Check Server-side logs
All sites on WPOven have access and error logs, they are available in the logs/ folder for the site.
To access the logs folder use the SFTP account associated with the site, on login, you will see two folders logs/ and public_html/.
These logs help track all the activities and events occurring on the server side, especially if unexpected changes have been made to the server logs. Such changes can lead to the appearance of a “405 Method Not Allowed” message on your website.
You will find the logs inside the logs/ folder named error.log and access.log.
You can download them using the same SFTP account to your local PC for further review and check if any of the information found there is different.
5. Inspect your Web server configuration
If you are unable to resolve the “405 Method Not Allowed” error, the next step is to check your web server configuration files. This error typically indicates that the web server is restricting users from accessing a specific URL.
Hence, it is necessary to inspect or check your web server configuration for any request handling instructions or unintentional redirections.
To inspect your web server configuration, the first step is to determine which server software your website uses. It can be either NGINX or Apache.
If your website uses Apache, look out for the .htaccess file in the root directory of your website’s system files. However, if your website is using the NGINX web server, you have to look for nginx.conf file instead.
You can also check out our dedicated article on, “WordPress .htaccess File: How to Create And Edit it?“
Once you can locate the .htaccess file, open it up in the text editor and search for the directives that are using the 405 flags.

If you find anyone of them, try temporarily commenting on them by using the “#” character prefix. Afterward, restart your web server to see if your change has resolved the issue.

6. Inspect your Application codes and scripts
If none of the previous troubleshooting steps have resolved the issue, it may indicate a problem with the custom code in your WordPress installation. To determine if this is the cause of the “405 Method Not Allowed” error, an inspection is required.
One of the best ways to execute this troubleshooting method is to begin by making a complete copy of your website on a staging platform. This allows you to proceed with a step-by-step debugging process.
However, it is important to note that there are no shortcuts when it comes to this process. It will require your time and effort. Nonetheless, the effort will be worthwhile as it helps you pinpoint the exact moment something went wrong.
7. Confirm A records
Another thing you can do is confirm your Domain Name Server records. Specifically, check the A records to ensure that all the details are accurate.
A record maps a domain or subdomain to its corresponding IPv4 address. It is one of the fundamental DNS record types and is used to direct requests for a specific domain or subdomain to the correct IP address where the associated website or server is hosted.
Ensure that your A records contain the following information:
- Type: The DNS record type should be set as A.
- Name: If the domain or subdomain name points to another IP address, use “@” as the name.
- Points to: Verify that your domain or subdomain points to the correct IP address.
- Time to Live (TTL): This indicates how long the DNS resolver should store the query for this domain in its cache. Most hosting providers typically set it to 14400 seconds or 4 hours.
8. Contact your Web hosting provider
If you’re still experiencing the 405 Method Not Allowed error after trying the solutions mentioned above, it indicates a more complex issue that may require the assistance of an experienced developer.
In such cases, it’s best to contact your web hosting provider directly. They typically offer 24/7 customer support through live chat or ticketing services.
Choosing live chat is often the fastest way to find a solution, but you may also have the option to reach out via email or phone.
Best practices for handling a 405 error
- Use the appropriate HTTP methods: Adhere to the HTTP protocol specifications and use the correct methods for the intended operations. Ensure that the server and the client are in sync regarding the supported methods for each resource.
- Provide informative error messages: When a 405 error occurs, provide clear and user-friendly error messages that explain the issue and suggest possible solutions. This helps users understand the problem and take appropriate action.
- Implement proper error handling and logging: Set up robust error handling mechanisms to capture and log 405 errors. Effective error logging aids in diagnosing and resolving issues promptly, enabling continuous improvement of the system.
- Test and validate changes before deployment: Before deploying any changes related to HTTP methods or server configuration, thoroughly test them in a controlled environment. Conduct comprehensive testing to ensure that the changes function as intended and do not introduce new issues. Validate the changes with sample requests and verify that the server responds correctly without generating 405 errors.
Here’s how it goes: When a client requests a server, it specifies an HTTP method such as GET, POST, PUT, DELETE, etc. The server then determines if the requested resource supports that particular method. If it doesn’t, the server responds with a 405 Method Not Allowed error.
Another thing to keep in mind is that many people often confuse Error 404 and Error 405. However, it’s important to remember that a 404 error occurs when either the URL does not exist or you have entered it incorrectly. On the other hand, in the case of a “405 Method Not Allowed” error, the server confirms that the requested resource is available, but due to the incompatibility of the HTTP method, the request has been declined.
The 405 Method Not Allowed error is often triggered from the client side, hence it is considered a client-side error. However, it can also be triggered from the web server.
Check out the variations of the “405 Method Not Allowed” error that may appear to you.
- 405 Not Allowed
- Method Not Allowed
- HTTP Error 405
- HTTP 405 Method Not Allowed
- HTTP Error 405- Method Not Allowed
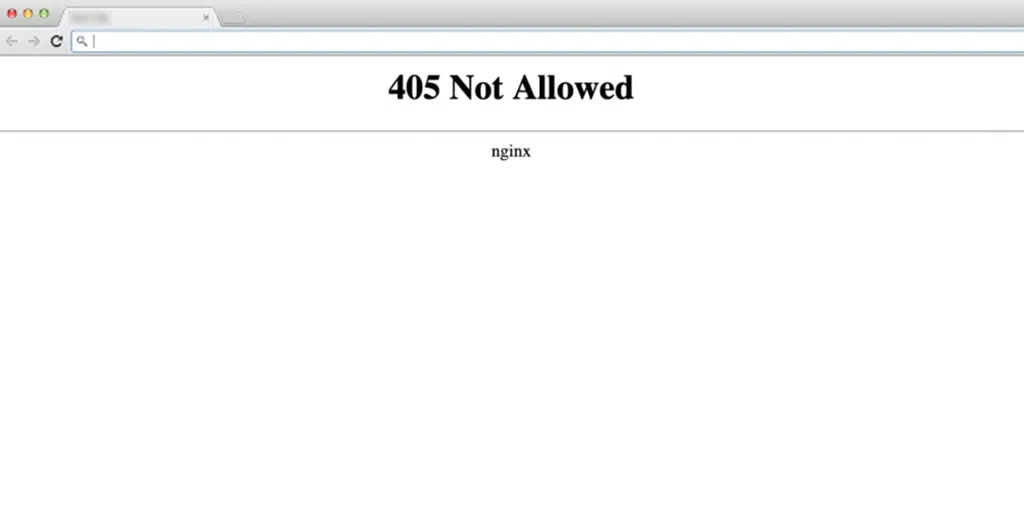
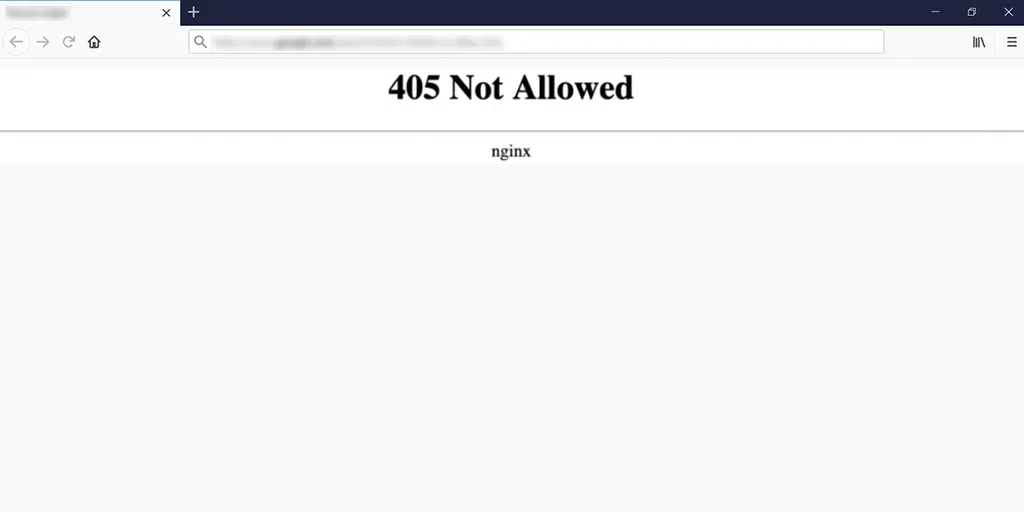
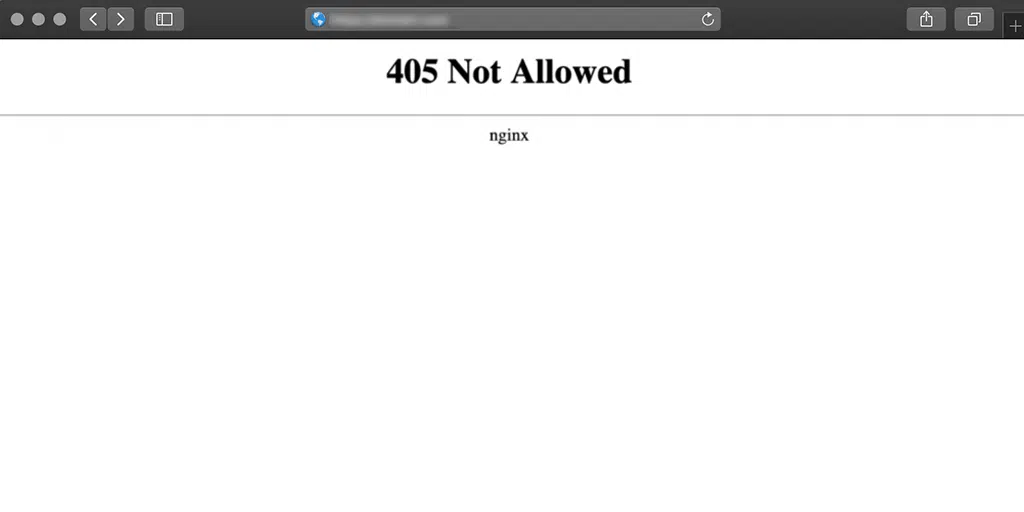
How “405 Not Allowed” Error appear on different browsers?
Google Chrome
Firefox
Safari
What Causes the “405 Method Not Allowed” Error?
Identifying the exact cause of the 405 Method Not Allowed error can be difficult. Therefore, we are going to provide you with some of the common reasons why this error generally occurs. They are:
- Unsupported HTTP method: One of the primary reasons for encountering a 405 error is attempting to use an HTTP method that is not allowed for a particular URL. For example, if a server only allows GET requests for a specific resource and a client attempts to use the PUT method, a 405 error will be returned.
- Missing or incorrect headers: HTTP headers provide additional information about the request or the client. If headers are missing or improperly formatted, the server may reject the request and respond with a 405 error.
- Server misconfiguration: In some cases, the server may be misconfigured, causing certain HTTP methods to be disallowed. This could be due to an oversight during server setup or a misconfiguration in the server software.
- Cross-Origin Resource Sharing (CORS) issues: Cross-origin requests occur when a client makes a request to a different domain than the one hosting the requested resource. CORS-related problems, such as not having the necessary headers set on the server side, can lead to a 405 error.
Read: 🚩 What is a 4XX Error? A Guide to 4XX HTTP Status Codes
Conclusion
Every website, no matter how well-optimized, may encounter error messages. It is very crucial to resolve this issue on time so that you can maintain visitor engagement.
The best part is that despite the confusion it may cause, the “405 Method Not Allowed” error can be easily fixed by following these simple methods.
You can fix this error by simply using these 8 best troubleshooting methods:
- Make sure you have entered the correct URL
- Revert any recent WordPress update
- Check your Database for any changes
- Check Server-side logs
- Inspect your Web server configuration
- Inspect your Application codes and scripts
- Confirm A records
- Contact your Web hosting provider.
Do you have any more questions about the “405 Method Not Allowed” error? Or is there another common error message you would like us to address? Feel free to let us know in the comments section below!
Frequently Asked Questions
How do I fix error 405?
8 Methods to Fix the 405 Method Not Allowed Error:
1. Make sure you have entered the correct URL
2. Revert any recent WordPress update
3. Check your Database for any changes
4. Check Server-side logs
5. Inspect your Web server configuration
6. Inspect your Application codes and scripts
7. Confirm A records
8. Contact your Web hosting provider
What causes a 405 error?
Common causes of the 405 error:
1. Unsupported HTTP method: Using disallowed methods for a URL.
2. Missing or incorrect headers: Improperly formatted or absent headers.
3. Server misconfiguration: Misconfigured server settings.
4. Cross-Origin Resource Sharing (CORS) issues: Problems with cross-origin requests.
What is a 405 login error?
The 405 login error is an HTTP status code that indicates that the method used for authentication, such as attempting to log in with an unsupported HTTP method, is not allowed. This error typically occurs when a user tries to use an HTTP method that the server does not support for the login process.

Rahul Kumar is a web enthusiast, and content strategist specializing in WordPress & web hosting. With years of experience and a commitment to staying up-to-date with industry trends, he creates effective online strategies that drive traffic, boosts engagement, and increase conversions. Rahul’s attention to detail and ability to craft compelling content makes him a valuable asset to any brand looking to improve its online presence.

![How to Fix the HTTP NGINX 499 Error? [6 Best Methods] How to Fix Http 499 Error](https://www.wpoven.com/blog/wp-content/uploads/2023/03/HTTP-499-Error.png)
